
This guide generalizes what we learned building and launching a real first ChatGPT Ads campaign for a client, combined with OpenAI’s current advertising documentation. It’s an independent guide, not published or endorsed by OpenAI. Because Ads Manager is still in beta, treat OpenAI’s own documentation as the final word if any field name or limit here has since changed.
If you’ve already got an Ads Manager account and you’re staring at “Create Campaign,” this is the part that actually determines whether your first test tells you anything useful. Getting an account approved is mostly a waiting game. Structuring the campaign well is a series of small decisions: how many ad groups, what to put in a context hint, which bid strategy, and how much creative variation. Most of the genuine confusion we ran into on our first build happened right here, not during account setup.
Before You Start: What You Should Already Have Ready
This guide assumes you’ve already got an approved Ads Manager account, billing set up, and a landing page ready to receive traffic. If you haven’t gotten that far yet, our beginner’s guide to advertising on ChatGPT covers account creation, verification, and the basics of how the platform works. It’s worth reading first rather than duplicating here.
Quick Recap: Campaign → Ad Group → Ad
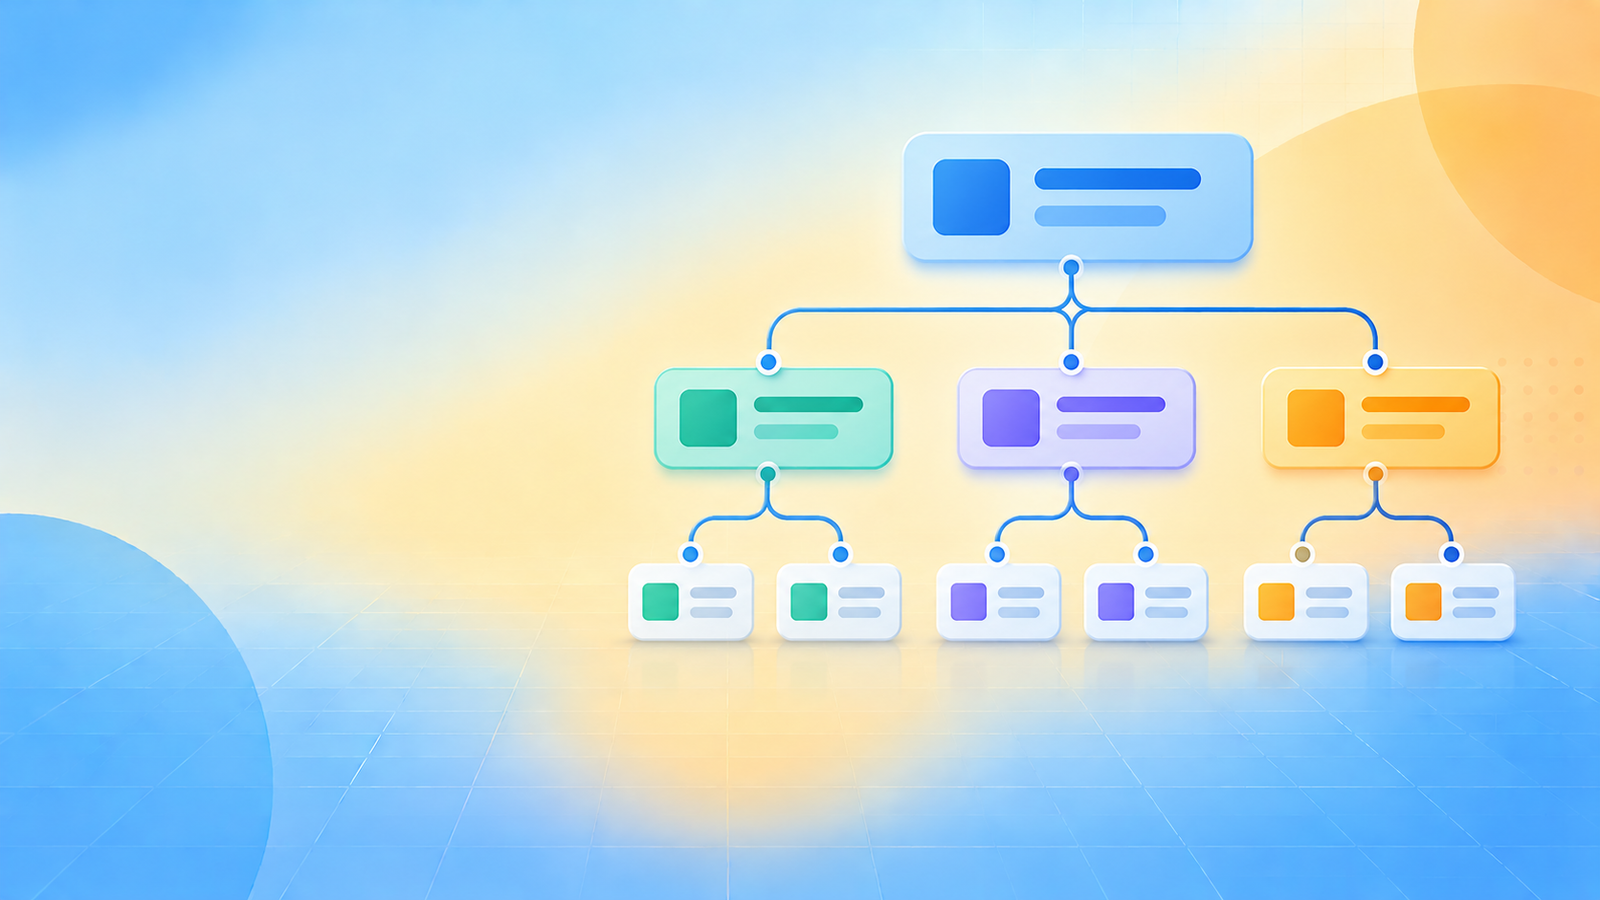
One structure, three levels, borrowed from the same mental model as Google or Meta even though the mechanics inside each level are different: a campaign sets your overall objective, budget, and country targeting; an ad group is a themed collection built around one customer intent, carrying the context hints that tell OpenAI’s system when your ads might be relevant; an ad is the actual creative: title, description, image, and destination URL. Everything below is about getting the second and third levels right, since the campaign-level settings are mostly a handful of straightforward choices.
Step 1: Choose Your Campaign Objective (CPM / CPC / oCPC)
OpenAI’s current documentation describes three campaign objectives: CPM (cost per 1,000 impressions), CPC (cost per click), and oCPC, conversion-optimized CPC, where delivery is optimized toward a conversion event you’ve defined, and OpenAI notes this currently requires a supported standard conversion event rather than a custom one.
We’d recommend starting with CPC for a genuinely first campaign, even if your ultimate goal is conversions. CPC gives you a cost figure and a traffic-quality signal in the same test, which a pure impressions buy doesn’t, and it doesn’t require conversion data the system doesn’t have yet. Once your pixel or Conversions API has a few weeks of real conversion events behind it, as covered in our conversion tracking guide, switching to oCPC starts to make sense.
Step 2: Structure Your Ad Groups Around Intent, Not Keywords
This is the single biggest adjustment if you’re used to Google Ads, and it’s where we spent the most time getting our own first campaign right.
What Are Context Hints?
OpenAI describes context hints as short, natural-language descriptions of the themes or intents an ad group is relevant to, explicitly not exact-match keywords, and not a guarantee that an ad will appear for any specific phrase. They’re one signal among several the system weighs alongside your ad copy, landing page, and the conversation itself.
Strong vs. Weak Context Hints
For example, imagine you’re advertising an online Python course aimed at career changers. A weak approach treats context hints like a keyword list: “python course,” “learn python,” “python classes.” A stronger approach describes the actual situations a prospective student might be in: someone asking about switching careers into software, someone comparing ways to learn a first programming language, someone researching whether a coding bootcamp is worth the cost. The first list reads like search terms. The second reads like real conversations, which is what the system is actually trying to match against.
How Many Ad Groups Should You Start With?
This is our recommendation, not an OpenAI rule: start with two or three ad groups, not one giant one and not ten. For the course example, that might look like one ad group for career-change learners, one for people specifically comparing bootcamps versus self-study, and one for a more advanced audience already coding a little and looking to formalize their skills. The reasoning is straightforward: someone asking “should I switch careers into tech” and someone asking “is a coding bootcamp worth it” are in genuinely different places in their decision, and OpenAI’s own guidance is to keep ad groups focused around a single theme or intent rather than blending several into one. Two or three focused ad groups, each collecting its own data, teaches you more in the first few weeks than one broad group ever will, and you can always split further, or consolidate, once you see what’s actually generating clicks.
Step 3: Choose a Bid Strategy
Worth keeping separate from Step 1: your campaign objective sets the broader optimization direction, while bid strategy is how you actually pay within that direction. The two aren’t the same decision, even though it’s easy to conflate them when you’re moving through the setup flow quickly. What’s available depends on your campaign objective. OpenAI’s documentation describes a “Maximize results” strategy that automatically adjusts bids within your budget to maximize your selected campaign outcome, alongside a manual Bid Cap you can set at the ad-group level. This becomes the relevant option once you’re running oCPC.
For a first campaign, we’d suggest letting the system optimize with “Maximize results” if it’s available for your objective, rather than trying to manually tune bids with no data yet to base that on. If you do end up setting a manual bid cap, don’t set it aggressively low just to save money, a cap so tight the system can barely deliver any impressions defeats the purpose of running a test in the first place. For India-specific CPC and CPM benchmarks to sanity-check your numbers against, see our dedicated cost guide.
Step 4: Create Your Ad
This is where we’d spend the most actual effort, and it’s made up of a handful of fields worth getting right individually. Before touching any specific field, a good ad answers three questions plainly: what are you offering, who is it actually useful for, and why should this particular person care right now. If a draft doesn’t answer all three, it’s usually worth another pass before you start worrying about character counts.
Ad Name, Title & Description: Character Limits That Matter
The ad name is internal. It’s what you’ll see in your own reporting, so use a naming convention that makes sense to you later rather than a generic label. Something like “Python Course – Career Change – V1” beats “Ad 1” once you’ve got nine variations running. OpenAI’s documentation recommends roughly 16–24 characters for the title and 32–48 characters for the description, with hard maximums of 50 and 100 respectively. Treat the recommended range as the target, not just the ceiling, since a title that only barely fits under the maximum often reads as cramped in the actual ad format.
For example, rather than a generic line like “Sign up for our course today,” something built around the actual value the course offers reads better and gives the review process a clearer, more specific claim to evaluate:
Title: Learn Python Online
Description: Structured lessons and real projects to build job-ready skills.
And a second variation for the same ad group, aimed at the same audience from a different angle:
Title: Career-Change Coding
Description: A beginner-friendly path into software, built for total career switchers.
Don’t make a claim in the ad that your landing page doesn’t back up. OpenAI’s ad review applies to both the creative and the destination page. A mismatch between what the ad promises and what the page delivers is an easy way to slow down approval.
Destination URL & Landing-Page Query Parameters
Keep your destination URL as your actual landing page, don’t manually append tracking parameters to it. OpenAI’s Ads Manager has a separate “Landing page query parameters” field, described in its own interface as appending any parameters not already present. The supported template values are {campaign_id}, {ad_group_id}, {ad_id}, {ad_account_id}, and {oppref}. The last one is the click reference your conversion tracking setup needs. A reasonable entry here is:
campaign_id={campaign_id}&ad_group_id={ad_group_id}&ad_id={ad_id}&ad_account_id={ad_account_id}&oppref={oppref}Ads Manager fills in the actual values when the ad serves, so your visitor ends up landing on something like yoursite.com/course-signup/?campaign_id=...&ad_group_id=...&ad_id=...&oppref=.... This is useful later for answering “which ad group and which specific ad actually generated this signup,” which matters a lot once you’re running more than one creative. We cover what to actually do with these parameters once they land on your site in our conversion tracking guide.
Image Specs and Creative Best Practices
OpenAI’s current documentation specifies a square PNG or JPG, publicly accessible, up to 1200×1200 pixels. We’d avoid generic stock photography here, a clean, branded graphic that communicates the offer plainly tends to outperform a stock image that could belong to any course on the internet. Keep the text on the image minimal, since your title and description are already carrying most of the message; the image’s job is to reinforce, not repeat.
How Many Ads Should You Create Per Ad Group?
We’d suggest two to three ads per ad group rather than launching with just one. Across three ad groups, that’s six to nine creative variations total for a first campaign: enough to see which angle resonates within each audience without spreading a small test budget too thin to learn anything from any single ad.
The variations need to be genuinely different, not cosmetic. Swapping one adjective across ten otherwise-identical ads doesn’t teach you much; testing different angles does. For the same career-change audience, one ad might lead with accessibility (“no prior experience needed”), a second with the practical-projects angle already shown above, and a third with a career-outcome angle (“built for people changing careers into tech”). Each represents a different value proposition, not just different wording for the same one. That’s what actually produces a useful answer about what resonates. Once you have a few weeks of data, keep what’s working and retire what isn’t, rather than treating the first set of ads as permanent.
Step 5: Pre-Launch Review Checklist
Before submitting, it’s worth running through everything once as a final check, since fixing a mismatch after submission just means resubmitting and waiting again:
- Campaign objective matches what you’re actually trying to learn, and the conversion event is set correctly if you’re running oCPC
- Country, budget, and start date are all correct
- Platform selection (Web, iOS App, Android App) reflects where you actually want to appear, rather than defaulting to everything without a reason
- Each ad group has a clear, distinct theme and relevant context hints, not overlapping with another ad group in the same campaign
- Every ad has the correct destination URL, the query-parameter template filled in, a title and description within the recommended character range, and an image that meets spec
- No claim in any ad’s copy that the landing page doesn’t actually support
What Happens After You Submit: Review & Status Explained
Submitting isn’t the same as serving. OpenAI’s documentation describes the flow as submission, then review, then serving once approved, with impressions and clicks beginning to accumulate from there.
Understanding “Not Serving. Ad Is in Review”
Seeing this status is normal, not a sign something’s wrong. It means your ad has been submitted and is waiting for review. It’s not rejected or stuck, it’s simply queued. Worth keeping two situations clearly separate in your head: “under review” and “rejected or blocked” are not the same thing, and they call for different responses. If Ads Manager is showing a review status with no accompanying error, the right move is to wait, not to rebuild the ad from scratch. If it’s showing an actual rejection reason, that’s the specific thing to fix, rebuilding blindly without knowing which situation you’re in just wastes another review cycle. OpenAI doesn’t currently publish a guaranteed review turnaround, but its own guidance is to allow at least 24 hours after launch before treating a lack of delivery as a problem worth investigating. We’d apply the same rule ourselves: give it a full day before assuming anything is broken.
Common Publishing Errors
One specific error worth knowing about before you hit it cold: “Account verification must be approved before using a different ad URL.” This means your account-level verification hasn’t cleared yet, and you’re trying to launch an ad pointing to a URL that doesn’t match whatever domain your account verification is tied to. It’s not a problem with your tracking parameters or your ad copy, it’s specifically about the destination domain not yet being authorized against your verified business. The fix isn’t to change your destination URL to something else just to get the ad live; it’s to wait for account verification to clear, then resubmit against the URL you actually wanted. If your account and destination domain clearly represent the same business, this should resolve once verification completes rather than needing a workaround.
If an ad remains stuck in review well past 24 hours, we’d check, in this order, that account verification is actually approved, billing and payment details are fully complete, the landing page is publicly accessible without a login wall, CAPTCHA, or anything that would block an automated crawler, and the ad copy and image comply with OpenAI’s current Ad Policies. OpenAI specifically calls out landing pages that block its crawlers or user agents as one concrete reason delivery can stall.
How Long Ad Review Actually Takes
OpenAI doesn’t publish a fixed SLA like “reviewed within two hours.” Its current guidance points to expecting impressions within 24 hours of launch once everything, account, billing, verification, and campaign, is genuinely complete. Account-level verification is a separate, and often longer, process from individual ad review; if verification is still pending, that takes priority over anything happening at the ad level.
Metrics to Watch in the First Week
Ads Manager reports impressions, clicks, spend, CTR, average CPC, average CPM, and conversions, viewable at the campaign, ad-group, and ad level. We’d watch them in this order rather than jumping straight to cost-per-click: impressions confirm the campaign is actually delivering; CTR and clicks tell you whether the message is landing; and, once you have conversion tracking in place, cost per conversion is the number that actually matters, not CPC in isolation. A campaign with a higher CPC that converts well can easily beat a cheaper one that doesn’t, the same lesson that applies on every other ad platform too. Resist making changes in the first few days; let the campaign accumulate enough data for any pattern you’re seeing to actually mean something, rather than reacting to a handful of early clicks.
What a Good First Campaign Actually Looks Like
Strip away the individual steps and a solid first build comes down to a short chain: one clear objective, a small number of genuinely distinct customer-intent ad groups, context hints that describe situations rather than keywords, two or three real creative angles per group, a landing page that matches what the ad promised, and a measurement plan decided before launch rather than bolted on afterward. Nothing in that list requires the campaign to be large or complicated, if anything, a first campaign that’s trying to do too much at once is usually harder to learn anything from, rather than more sophisticated. The single biggest mental shift, worth repeating one more time, is this: stop asking which keywords to target, and start asking which conversations your product genuinely belongs in.
Next Step: Proving Your Ads Actually Work
Getting a campaign live and approved is only half the job. The other half is knowing, with real data, whether it’s actually producing results worth paying for. That means conversion tracking done properly, not just watching clicks accumulate. Our guide to ChatGPT Ads conversion tracking covers the Pixel, the Conversions API, and exactly where in your funnel a conversion should actually fire.
Getting the ad group structure and context hints right the first time saves weeks of underperformance while you figure it out by trial and error. Valentius Kryptix builds ChatGPT Ads campaigns end to end, so you’re not learning the platform’s rough edges on your own budget. Talk to our team →
Frequently Asked Questions
We’d suggest two to three, each built around a genuinely distinct customer intent rather than variations on the same theme. Starting narrower makes it easier to see which audience is actually responding; you can always expand once you have data.
No. OpenAI describes context hints as natural-language descriptions of the conversations or intents an ad group is relevant to, explicitly not exact-match keywords and not a guarantee of delivery for any specific phrase.
Two to three is a reasonable starting point, enough to test different angles on the same audience without spreading a small budget too thin to learn from any single one.
CPM charges per thousand impressions, CPC charges per click, and oCPC charges per click while optimizing delivery toward a conversion event you’ve defined, which requires conversion tracking already in place and, per OpenAI’s current documentation, a supported standard event rather than a custom one.
It means your ad was submitted successfully and is waiting for OpenAI’s review, a normal, expected status, not an error. Give it at least 24 hours, per OpenAI’s own guidance, before treating it as a problem.
This usually traces back to account verification not yet being approved. OpenAI requires verification to clear before an advertiser can use a destination URL that differs from what’s associated with their verified account, it’s a domain-authorization issue, not a problem with the URL itself or your tracking parameters.
There’s no published fixed timeline. OpenAI’s guidance is to expect impressions within about 24 hours of launch once your account, billing, and verification are all fully complete, account verification itself can take longer and is a separate process from individual ad review.
A square PNG or JPG, publicly accessible, up to 1200×1200 pixels, per OpenAI’s current documentation.

Leave a Reply
You must be logged in to post a comment.