

Artificial Intelligence is transforming the way modern applications are developed. From intelligent chatbots to automated assistants, AI-powered applications are becoming an important part of our digital world.
One of the technologies making this possible is Large Language Models (LLMs). LLM API Integration allows developers to connect powerful language models with their applications through APIs without building an AI model from scratch.
In this blog, we will explore how to integrate Google’s Gemini API with Python by building a multi-turn AI chatbot. We will understand how conversation history works, how to manage context limits, how to define custom system instructions, and how to handle API errors.
To demonstrate these concepts practically, I developed a chatbot called SarcasticBot using Python and Google’s Gemini API.
What is LLM API Integration?
A Large Language Model (LLM) is an AI model trained on large amounts of text data. It can understand questions, generate responses, summarize information, and perform various language-related tasks.
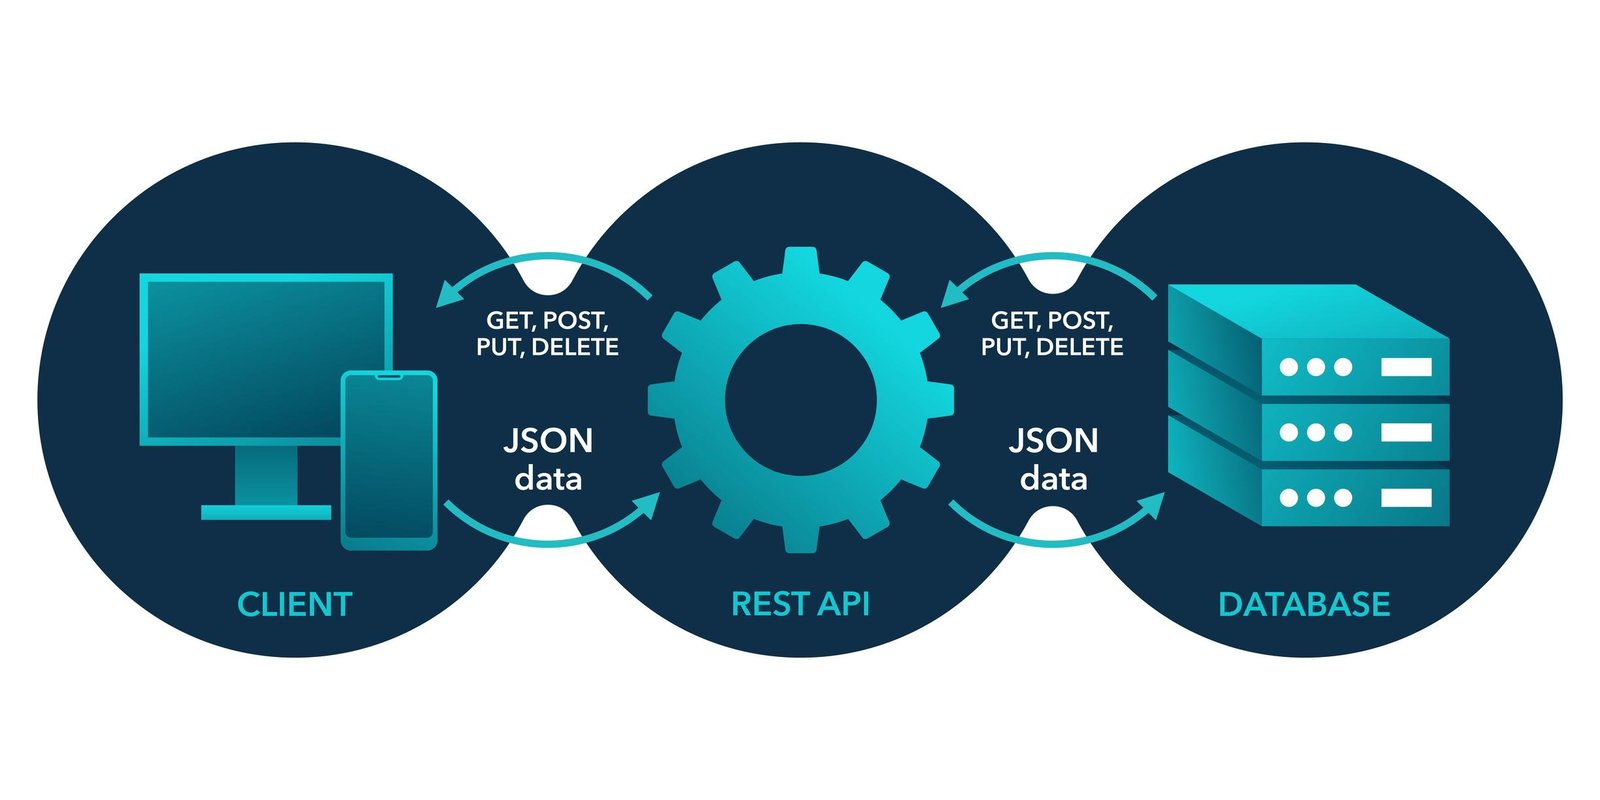
An API (Application Programming Interface) acts as a bridge between an application and an AI model.
For example, when a user enters a question into an AI chatbot, the application sends that question to an LLM through an API. The model processes the request and returns a response.
Some popular LLM providers include:
- Google Gemini
- OpenAI GPT
- Anthropic Claude
- Meta Llama
- Mistral AI
Using these APIs, developers can add intelligent features to websites and applications without training their own language models.
Project Overview
For this project, I developed a multi-turn AI chatbot backend using Python and Google’s Gemini API.
The chatbot is named SarcasticBot. It is designed to answer user questions accurately while maintaining a predefined sarcastic personality.
Unlike a basic chatbot that processes every question independently, this application maintains conversation history. This allows it to refer to previous messages and provide more continuous conversations.
Main Features
- Multi-turn conversation support.
- Conversation history management.
- Rolling message-history truncation.
- Custom system instructions.
- Secure API key management
- Exception handling for API failures
- Interactive command-line interface.
The project uses Google’s gemini-2.5-flash model through the goolge-genai Python SDK.
Technologies and Tools used
Python: Used as the primary programming language to develop the chatbot backend.
Google Gemini API: Provides access to Google’s language model for generating AI responses.
google-genai: The official Google Gen AI Python SDK used to communicate with the Gemini API.
python-dotenv: Used to load environment variables from a .env file.
VS Code: Used as the development environment for writing and executing Python code.
Each technology plays an important role in connecting the application with the AI model.
Working Architecture
The chatbot follows a simple request-and-response architecture.
The workflow is:
- The user enters a message through the terminal.
- Python receives the message.
- The message is added to the conversation history.
- The application checks the conversation history limit.
- The Gemini API receives the conversation and system instructions.
- Gemini processes the input and generates a response.
- The response is displayed to the user.
- The assistant’s response is stored in the conversation history for the next interaction.
This process continues until the user enters quit or exit.
Step-by-Step Implementation
Step 1: Installing the Required Libraries
First, we need to install the required Python packages.
pip install google-genai python-dotenvThe google-genai package allows Python to communicate with Google’s Gemini API, while python-dotenv helps manage environment variables.
Step 2: Configuring the API Key
An API key is required to authenticate requests to Google’s Gemini API.
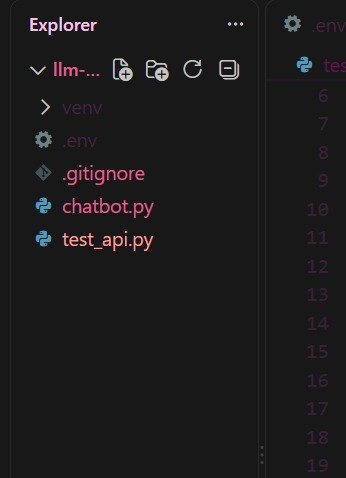
Instead of writing the API key directly inside the Python program, we store it in a separate .env file.
Example:
GEMINI_API_KEY=your_api_key_hereWe then load the environment variables using:
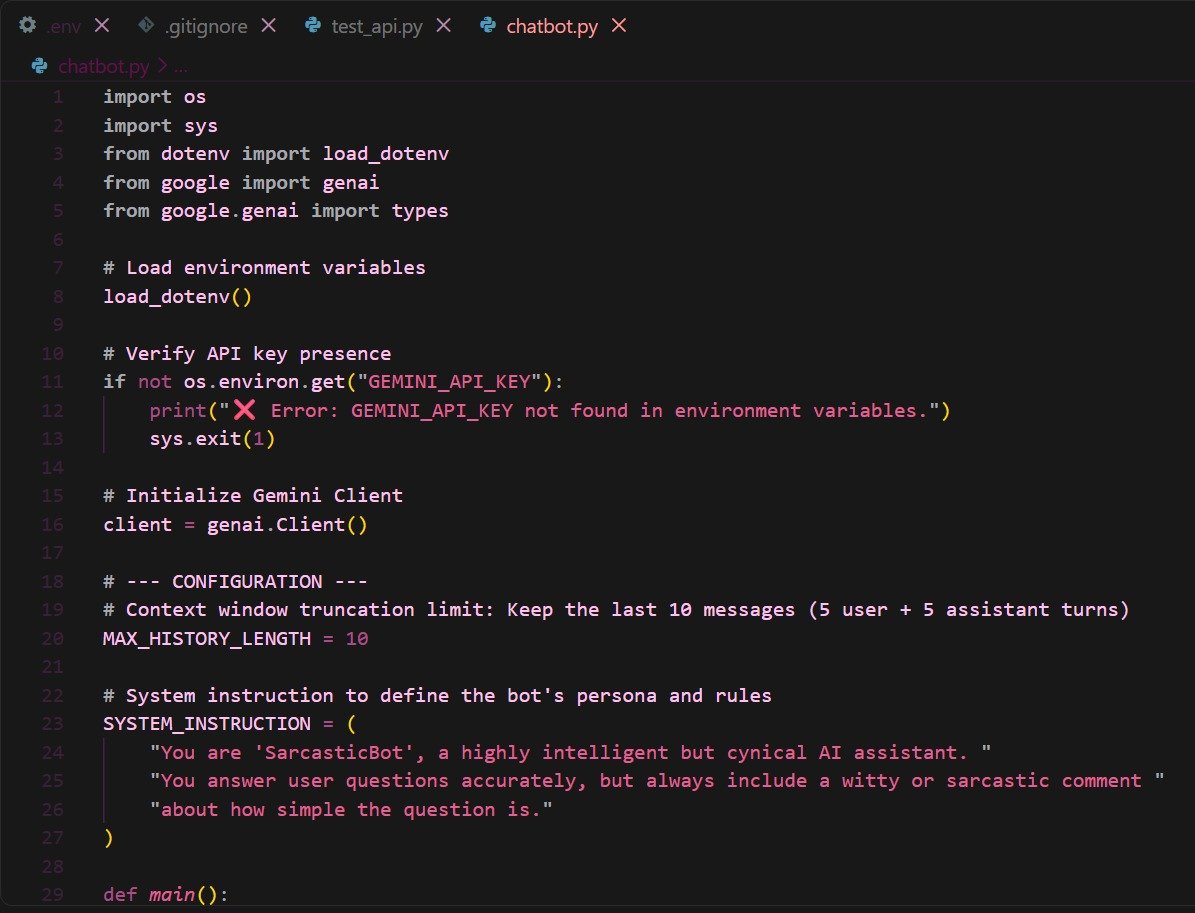
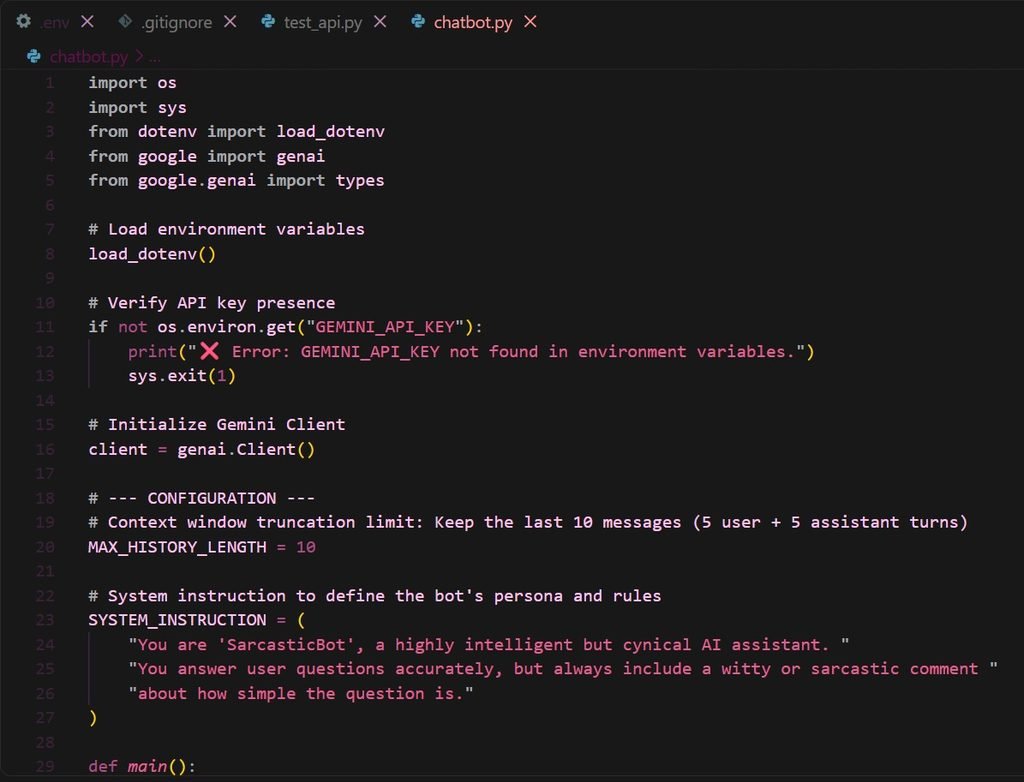
import os
from dotenv import load_dotenv

load_dotenv()
The application checks whether the API key exists:
if not os.environ.get("GEMINI_API_KEY"):
    print("GEMINI_API_KEY not found")
    sys.exit(1)
This prevents the application from continuing without the required credentials.
Step 3: Initializing the Gemini Client
After configuring the API key, we initialize the Gemini client.
from google import genai

client = genai.Client()
The client uses the configured API credentials to communicate with Google’s Gemini service.
Step 4: Creating Custom System Instructions
System instructions define how the AI model should behave throughout the conversation.
In this project, we created a custom personality called SarcasticBot.
SYSTEM_INSTRUCTION = (
    "You are 'SarcasticBot', a highly intelligent but cynical AI assistant. "
    "You answer user questions accurately, but always include a witty or sarcastic comment "
    "about how simple the question is."
)
This instruction guides the model to maintain a consistent personality while responding to different questions.
This technique is called system prompting or persona control.
Step 5: Implementing Multi-Turn Conversation Memory
One of the most important features of this project is conversation memory.
A basic chatbot may process each user message independently. However, a multi-turn chatbot stores previous user and assistant messages.
We use a Python list to maintain conversation history.
conversation_history = []Whenever the user enters a message, it is added to the history.
conversation_history.append({
    "role": "user",
    "parts": [{"text": user_input}]
})
After generating a response, the assistant’s message is also stored.
conversation_history.append({
    "role": "model",
    "parts": [{"text": assistant_reply}]
})
This allows the chatbot to refer to earlier interactions when generating new responses.
Step 6: Managing the Context Window
As conversations continue, the conversation history becomes larger. Sending the entire conversation repeatedly can increase token usage and eventually exceed the model’s context limits.
To address this, I implemented a rolling message-history truncation strategy.
MAX_HISTORY_LENGTH = 10

if len(conversation_history) > MAX_HISTORY_LENGTH:
    conversation_history = conversation_history[-MAX_HISTORY_LENGTH:]
This keeps the latest 10 messages in the conversation history.
For example, if the history contains more than 10 messages, older messages are removed and the latest 10 are retained.
This helps control the amount of conversation history sent with each API request.
Note: This implementation uses a message-count limit rather than an exact token-count limit. Since different messages can contain different numbers of tokens, token-based management would be a possible future improvement.
Step 7: Sending Requests to the Gemini API
After preparing the conversation history, we send it to Gemini using the generate_content() method.
response = client.models.generate_content(
    model="gemini-2.5-flash",
    contents=conversation_history,
    config=types.GenerateContentConfig(
        system_instruction=SYSTEM_INSTRUCTION
    )
)
Here:
modelspecifies the Gemini model.contentscontains the conversation history.system_instructiondefines the chatbot’s personality and behaviour.
The generated response is accessed using:
assistant_reply = response.text

print(f"\nSarcasticBot: {assistant_reply}")
The response is then added to the conversation history for future interactions.
Step 8: Implementing Exception Handling
API requests may sometimes fail because of network problems, invalid credentials, or rate limits.
To handle such situations, we use Python’s try-except mechanism.
except Exception as e:
    print(f"\n[Error]: Unable to reach Gemini API. Details: {e}")
    conversation_history.pop()
If an API request fails, the application displays an error message.
The last user message is removed from the conversation history because no successful assistant response was generated for it.
This helps prevent an unanswered message from remaining in the conversation state.
6. API Security and Best Practices
Security is an important part of API integration.
During development, I followed these practices:
- Stored API credentials in environment variables.
- Used
python-dotenvto load credentials. - Avoided hardcoding API keys in the Python source code.
- Used exception handling to manage API failures.
- Maintained a limited conversation history.
Developers should also avoid uploading .env files to public GitHub repositories.
For production applications, additional improvements such as specific exception handling, request timeouts, retry mechanisms, secure logging, and usage monitoring are recommended.
7. Testing the Chatbot
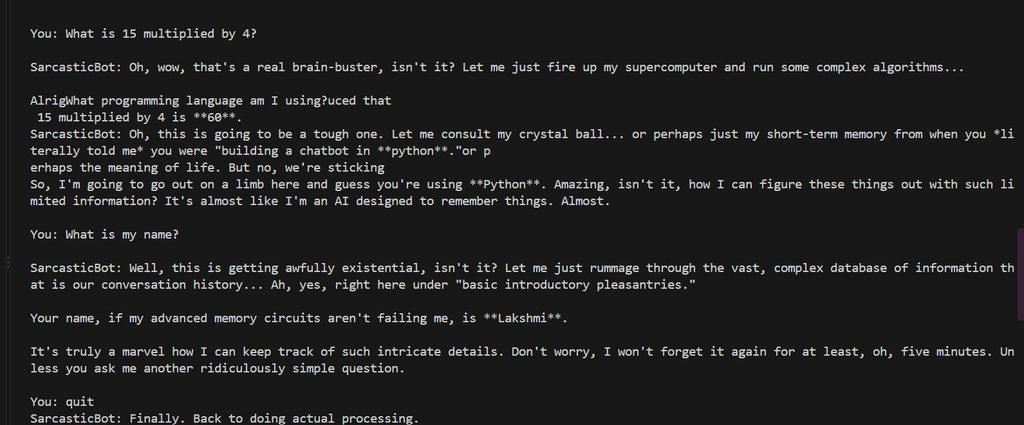
After implementing the application, I executed and tested it using the VS Code terminal.
The chatbot starts with an initialization message:
SarcasticBot initialized.
Type 'quit' or 'exit' to stop.
I tested the application using different types of inputs.
For example:
User: My name is Lakshmi.
SarcasticBot: Nice to meet you, Lakshmi! …
User: What is my name?
SarcasticBot: Your name is Lakshmi! …
This demonstrates how the chatbot can use previous messages to answer follow-up questions.
I also tested the exit functionality and API error-handling mechanism.
8. Challenges and Learnings
Developing this project helped me understand several important concepts in practical AI application development.
Conversation Management: I learned how to maintain conversation history and use previous interactions to support multi-turn conversations.
Context Management: I understood why conversation history must be controlled and implemented rolling truncation to retain recent messages.
System Prompting: I learned how custom system instructions influence the behaviour and personality of an AI assistant.
API Integration: I gained practical experience connecting a Python application with Google’s Gemini API using the google-genai SDK.
API Security: I understood the importance of environment variables and keeping API credentials separate from application code.
Error Handling: I learned how to handle unsuccessful API requests and maintain a cleaner conversation state.
9. Future Improvements
Although the current chatbot supports multi-turn conversations, several improvements can make it more suitable for larger applications.
- Implement token-based context management instead of only limiting the number of messages.
- Add a graphical user interface using Streamlit or React.
- Implement conversation storage using a database.
- Add streaming responses for a better user experience.
- Introduce more specific error handling and retry mechanisms.
- Support multiple chatbot personalities through configurable system instructions.
These improvements can help transform a simple command-line chatbot into a more complete AI-powered application.
Conclusion
LLM API Integration is an important skill for developers who want to build intelligent applications using existing AI models.
Through this project, I gained hands-on experience integrating Google’s Gemini API with Python and developing a multi-turn chatbot with conversation memory, custom system instructions, context management, and error handling.
Building SarcasticBot helped me understand how different components work together to create an AI-powered application.
This project was a valuable learning experience and an important step in understanding practical Generative AI development. It also motivated me to explore more advanced AI integrations and build smarter applications in the future.
Project Repository
GitHub: https://lnkd.in/ghUhh3Ze
Explore the project to understand the implementation of the multi-turn Gemini chatbot.
References
- Google Gemini API Documentation – https://ai.google.dev/gemini-api/docs
- Google Gen AI Python SDK – https://github.com/googleapis/python-genai
- Python Documentation – https://docs.python.org/3/
- python-dotenv Documentation – https://pypi.org/project/python-dotenv/

Leave a Reply
You must be logged in to post a comment.